Fundamentals of Character Design for Games
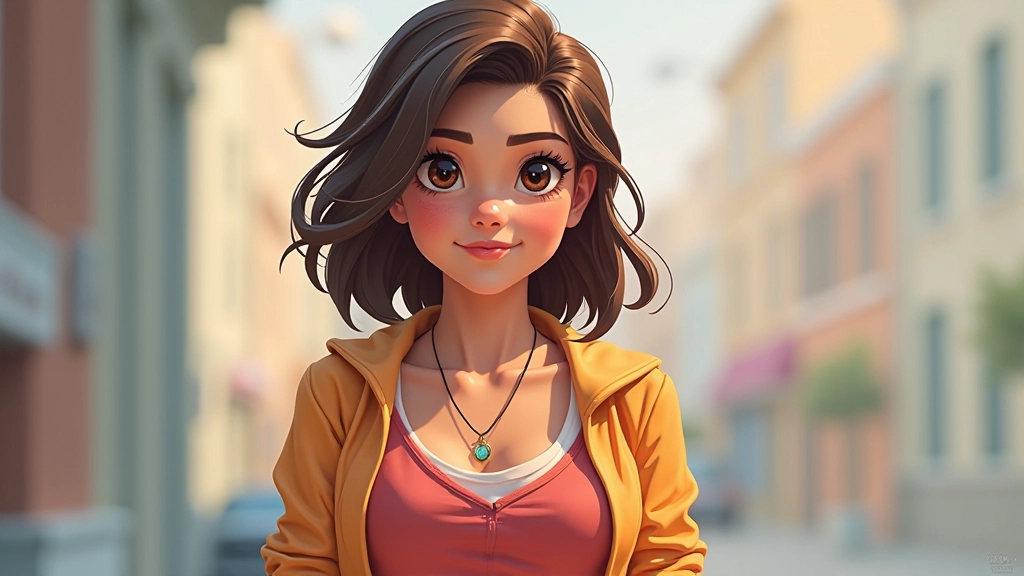
Learn the core principles that make game characters memorable and functional across different art styles and game genres.
Read Article
Building a game-ready character isn’t just about making it look pretty. You’re working within constraints—polygon budgets, texture memory, animation bones—that don’t exist in film or print. It’s a balancing act between visual quality and real-time performance.
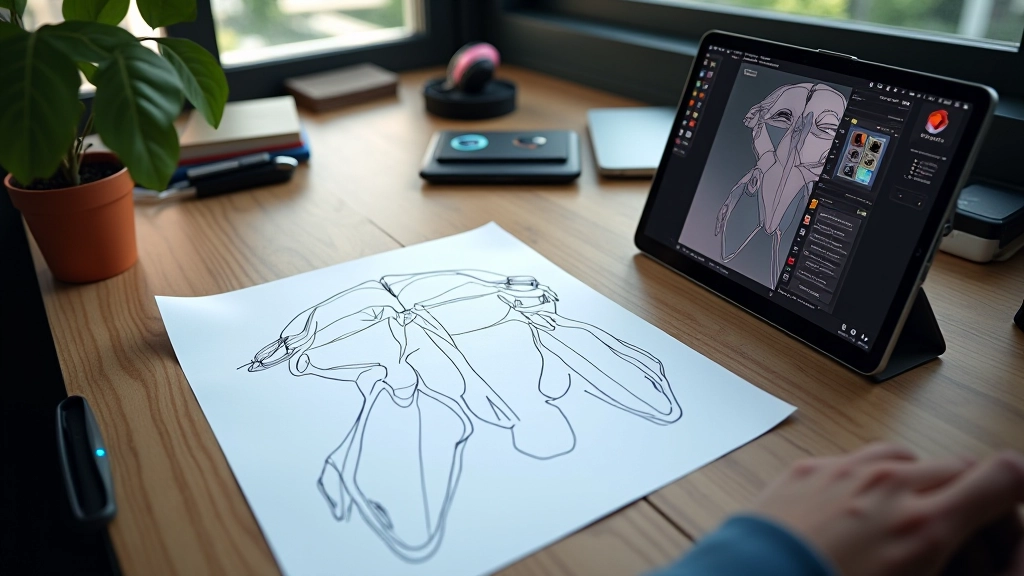
We’re going to walk through the entire character modeling pipeline. From your initial concept sketch to that moment when your model actually deforms correctly in an engine. We’ll cover the decisions that matter, the common pitfalls, and the specific techniques that separate amateur work from production-quality assets.
Topology is the flow of your polygons. Bad topology kills your character before rigging even starts. We’re talking about how edges loop around joints, how geometry flows across the face, and whether deformation will look natural when the rig moves.
The rule isn’t complicated: edge loops should follow muscle structure. At the shoulder, your loops need to wrap around that joint so when the arm rotates, the geometry deforms cleanly. Same with the neck, jaw, and anywhere else that bends. You want four-sided polygons (quads) everywhere possible—triangles cause shading issues, and n-gons make life harder.
Start with a reference. Seriously. Don’t try to wing it. You’ll spend three times longer fixing topology mistakes than getting it right the first time. Most characters in AAA games use 15,000 to 30,000 polygons for the body. That’s your budget. Work within it.
UVs are how textures wrap around your 3D model. Think of it like unfolding a cardboard box. You’re taking your 3D geometry and laying it flat on a 2D texture map. Do this wrong, and your textures stretch, distort, or overlap in weird ways.
You’ll need seams—invisible cuts where the unwrap breaks. These should hide along natural edges: the side of the face, the underside of the arm, the back of the torso. Not down the middle of the face where everyone sees it. Seams placed badly make your character look seamed.
Packing matters too. You want to use your texture space efficiently without sacrificing quality on visible areas. The face usually gets 30-40% of your texture space. The hands get another 15-20%. The body shares what’s left. This isn’t wasting space—it’s prioritizing where detail matters.
This article provides educational information about character modeling pipelines and techniques. Software capabilities, engine specifications, and optimization requirements vary depending on your target platform, studio requirements, and project scope. Always test your workflow on your target engine and hardware before committing assets to production. Refer to official engine documentation and studio pipelines for your specific needs.
A rig is the skeleton inside your character. Bones, joints, controls. Without a proper rig, your beautiful model just sits there. With a bad rig, it twists and breaks when it tries to move.
Skinning is weight painting. You’re telling the mesh which bones influence which vertices. An arm bone should pull the arm vertices. The spine should twist the torso. Sounds simple. It’s incredibly technical. You’re fighting with gradient brushes and weight transfer algorithms to get elbows that don’t collapse, shoulders that don’t pinch, and necks that don’t fold like paper.
Most game rigs use 40-60 bones for a humanoid character. That’s typically: 15 bones in the spine and neck, 10 in each arm, 10 in each leg, plus fingers if you’re doing hand animation. Test your rig constantly. Rotate the arm 90 degrees. Does the shoulder collapse? Does the mesh tear? If yes, you’re back to weight painting.
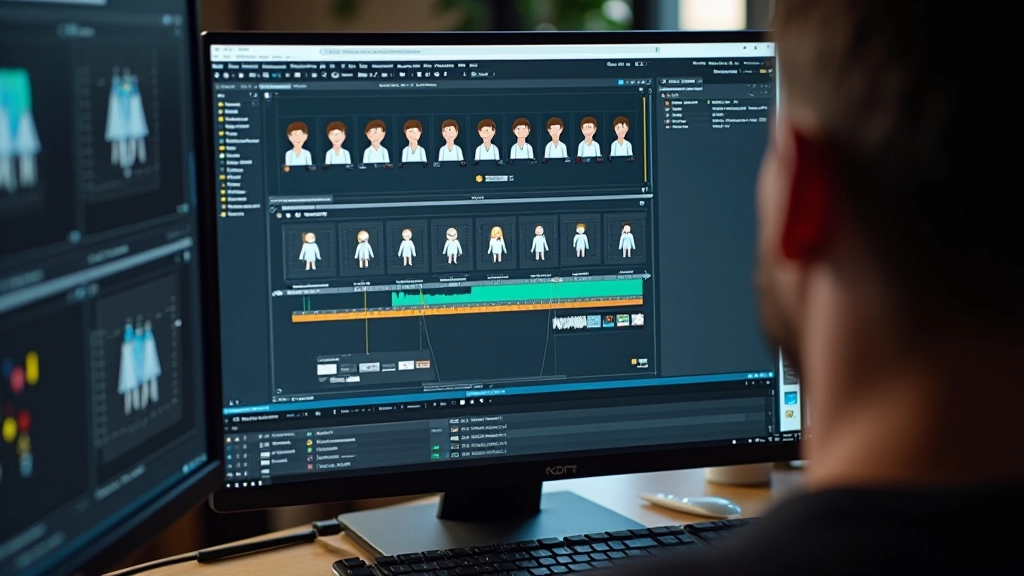
LOD stands for Level of Detail. Your high-quality model won’t stay high-quality when it’s a speck in the distance. That’s where LODs come in. You create progressively simpler versions of your character. When the camera pulls back, the engine swaps to a lower-poly version.
A typical LOD setup: LOD0 (hero quality) at 20,000 polygons for close-ups. LOD1 at 12,000 polygons for medium distance. LOD2 at 6,000 polygons. LOD3 at 2,000 polygons for far backgrounds. The engine decides which to display based on camera distance. This isn’t about being lazy—it’s about keeping frame rates stable.
Export your model as FBX or GLTF depending on your engine. Unreal uses FBX natively. Unity handles both. Make sure normals are correct, that your rig exports cleanly, and that materials reference textures the engine can find. Test import immediately. Don’t wait until the next day.
The character modeling pipeline isn’t one skill—it’s five interconnected ones. Topology, UV work, rigging, optimization, and engine integration. Master one and you’re still stuck. Get all five right and you’ve got a production-ready asset.
Start small. Build a simple character—maybe 10,000 polygons, basic rig, single outfit. Get it working in an engine. Then iterate. You’ll learn more from one complete character than from a dozen unfinished ones. The pipeline becomes clearer each time you go through it. Speed comes later. Quality comes first.
Ready to explore more about game art creation?
Read About Character Design Fundamentals